Fresh wood feels and behaves differently from much of the prepared timber encountered in ordinary indoor projects. As its moisture changes, so can its shape and working characteristics. The first green woodworking project is an opportunity to observe these differences on a scale that is manageable. Choose a suitable piece and learn the safe handling of unfamiliar hand tools with proper instruction.
Understand what green wood means
Freshly cut wood normally retains moisture that will change as it dries. Its working feel, shape and behaviour can differ from seasoned boards.
For a useful first comparison, use an ordinary situation rather than an unusually favourable one. Compare a small legally obtained piece of fresh wood with a dry piece of similar grain. The result should be representative of the work you normally intend to do, not a demonstration designed only to make the method look successful. Write down anything you are obliged to change during the trial, especially when a different person or material is involved. Observe weight, surface feel and changes rather than assuming the pieces behave alike. That observation gives you a starting measure for the remaining decisions, even if the initial attempt reveals a problem that needs another pass.
Choose a modest first object
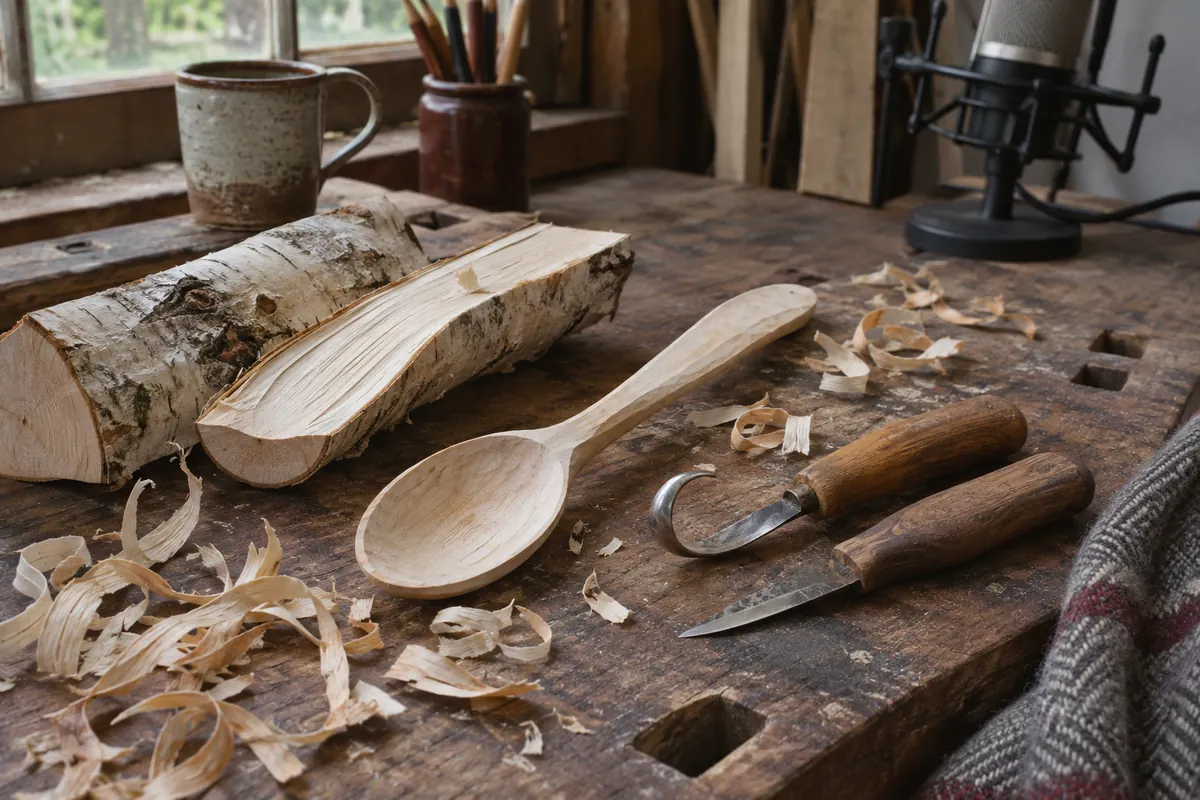
A simple small project allows a beginner to observe grain direction and material changes without managing a complicated assembly. Ambitious shapes can conceal basic difficulties.
Do the small preliminary exercise before getting absorbed in the larger task. Select a small practice piece suitable for the tools and instruction available. Think about what might make it fail outside this particular example, such as a change in the available time, the material or the person doing the work. Look for a design that can be approached gradually. Where the method is promising but the result remains inconsistent, simplify the arrangement or examine the source of the discrepancy. A method you understand well is generally easier to adapt than one that happens to work once.
Learn to read the grain
The direction of fibres matters when shaping wood. A change around a knot may make a surface behave differently from a straight section.
Pay careful attention to the reference used for the comparison. Examine the grain on a small blank and mark noticeable changes. The original condition gives this exercise meaning; if it is lost, the result can become difficult to interpret. Work with a temporary copy or a small example wherever that is appropriate. Ask an experienced instructor for guidance before working unfamiliar or difficult areas. Keep track of the differences that truly matter and distinguish them from incidental details. The point is to make a reliable choice, not to collect as many observations as possible without knowing how they affect the finished work.
For a related part of the process, see Choosing Wood for a Small DIY Project.
Work with suitable instruction
Sharp hand tools require controlled technique, adequate workholding and attention to the area around the blade. A written article cannot replace hands-on instruction for unfamiliar tools.
Give yourself a little room to adjust without losing sight of the purpose of the exercise. Learn tool use and safe positioning before attempting a finished project. An arrangement that is almost right may need a small practical change rather than a full redesign. Stop when a cut requires a position or amount of pressure that feels uncontrolled. If possible, compare the result at a later stage, when you can assess it in relation to the other work. Keep the parts that already perform well. Repeated changes to a satisfactory detail consume time and may introduce problems that were not present originally.
Allow for drying changes
A green piece may shrink unevenly, develop checks or change shape depending on thickness, grain and drying conditions. Final dimensions can evolve after initial shaping.
It is easy to become preoccupied with one detail while losing the original reason for addressing it. Record the starting dimensions and observe a practice piece during drying. Remember to consider how the choice affects the finished material rather than merely the intermediate result. Compare changes in different parts of the object before planning larger work. Where two approaches appear equally suitable, think about the effort needed to maintain each of them. There may be an advantage to the simpler one if it leaves more room to deal with unpredictable problems. Preserve the comparison so you can revisit it if circumstances change.
Choose an appropriate work space
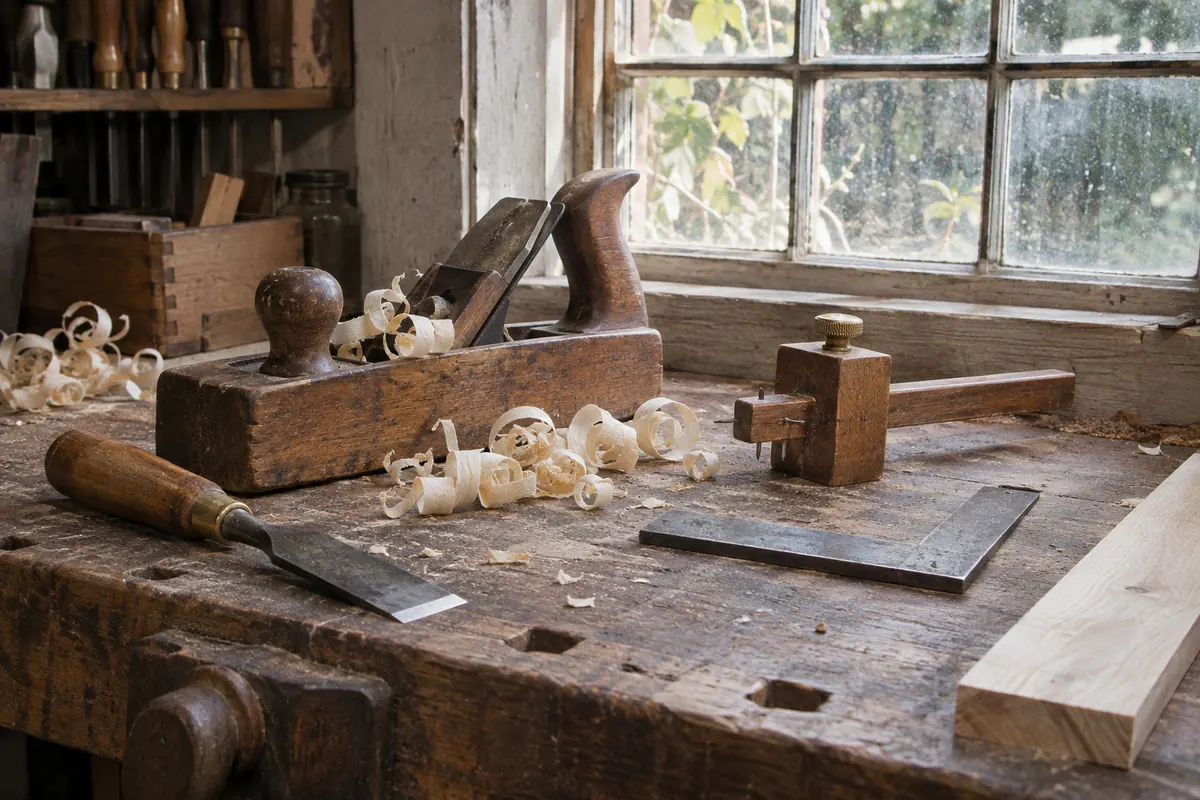
An organized bench and suitable lighting make it easier to inspect a material and maintain a stable working position. Clutter can interfere with safe movement.
Clear the area and prepare suitable storage for sharp tools and offcuts. Check whether any detail depends on an arrangement that will change later. It is common to discover that a useful intermediate result becomes inaccurate when the surrounding material is rearranged or another requirement changes. Make sure the piece can be supported without improvising around unstable furniture. Make a final comparison after those dependencies are stable. In the meantime, leave a clear indication of what still needs to be confirmed. This is more useful than treating provisional work as finished and forgetting which assumptions require another check.
Further reading in the journal: Building an Archive of Craft Interviews and Lessons.
Keep notes on the material
Fresh wood from different trees and sections may behave differently. A short note about the source, date, grain and drying changes provides better evidence than memory.
Label practice pieces and record observations over time. Now compare the proposed solution with the actual needs of the finished work. A technically interesting alteration is not necessarily an editorial or practical improvement. Compare which pieces remained stable and which developed defects. Evaluate the complete result, including the portions that were not changed, to make sure the choice did not create an unexpected difference elsewhere. If everything behaves as intended, stop adjusting it. The ability to decide that something is finished is an important part of a dependable independent workflow.
Treat the first project as practice
A finished object may be useful even when its surface or shape differs from the original plan. The value of an early project lies partly in observing the material.
Review what you learned about grain, workholding and moisture. Review the result as a whole instead of concentrating only on the most recent adjustment. This is a useful moment to distinguish essential checks from personal preferences that have little effect on the finished material. Choose the next project based on a technique you want to understand better. If an issue remains, describe it precisely enough to guide a later attempt. Keeping a concise record of the unresolved problem can be more helpful than continuing to make small changes without a clear expectation of what will improve.
Check the finished result
Record what the material actually did as it dried. A simple note that identifies the wood and the changes you observed can provide a useful starting point for the next suitably modest project.