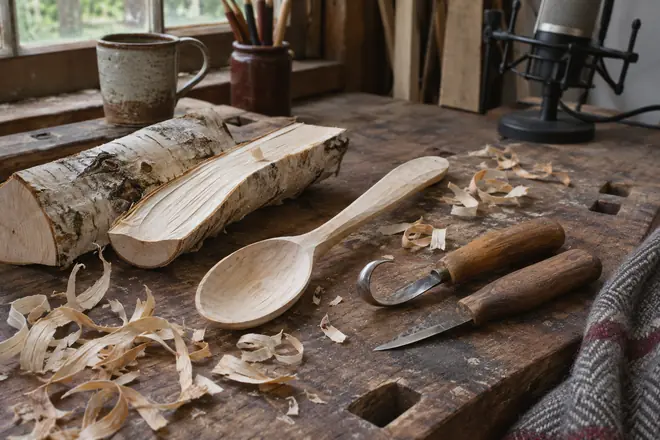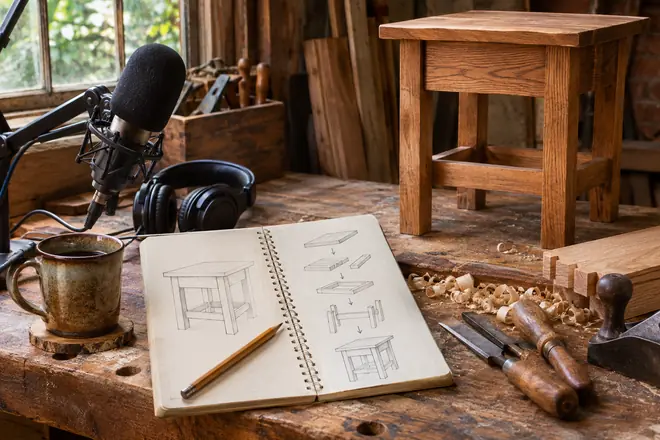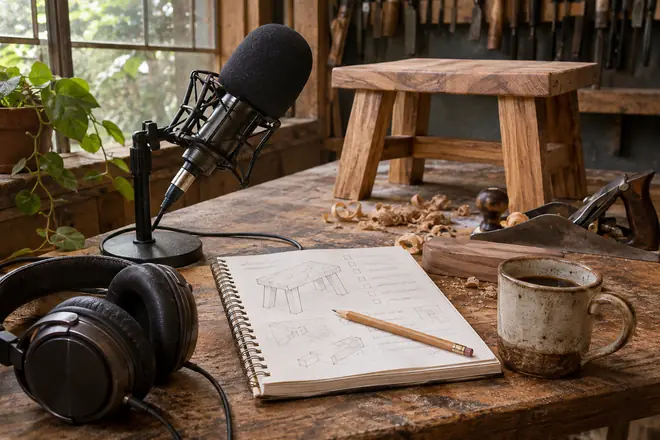
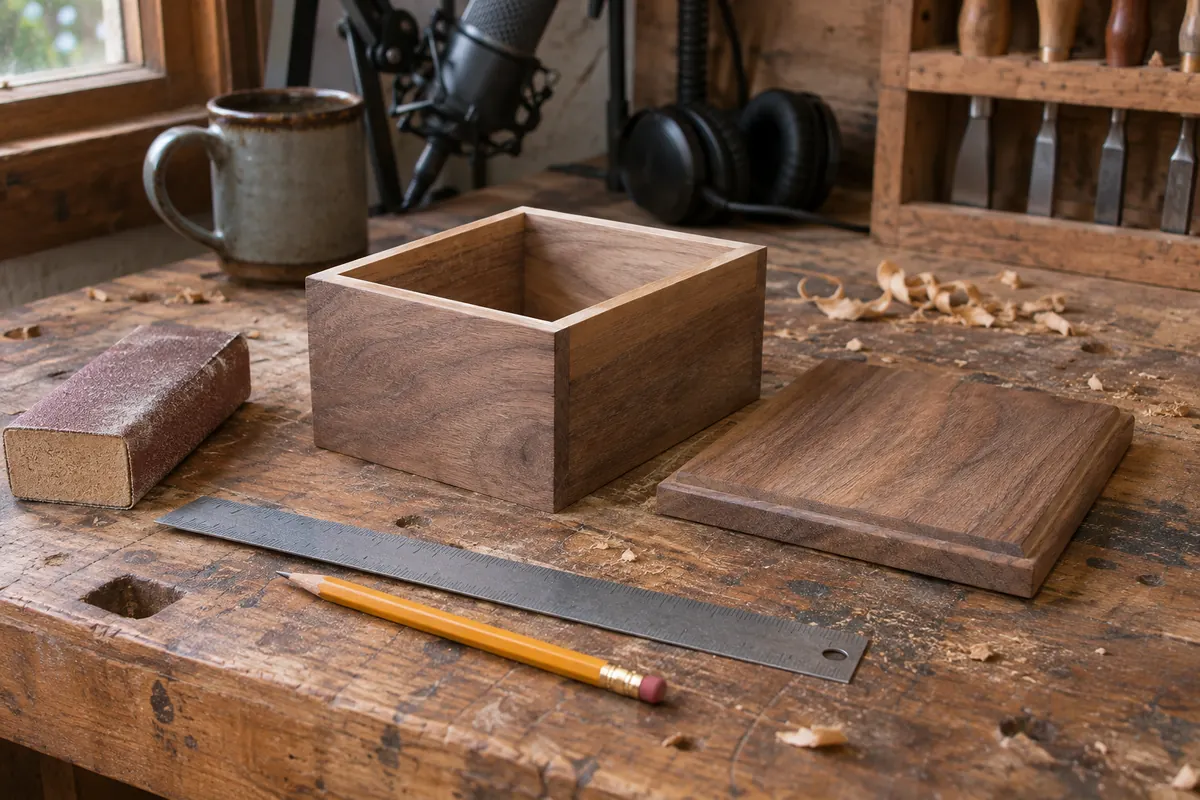
A striking piece of wood is not always an appropriate piece for the object you intend to make. Its grain, condition, dimensions and defects affect how much material is actually usable. For a small project, inspecting a handful of suitable pieces can be more informative than reading extensive general descriptions of wood species.
Begin with the finished object's use
An item that spends its life indoors may face different conditions from something exposed to moisture or frequent handling. Choose a material with the intended use in mind.
Describe where the object will be kept, what loads it experiences and how it will be maintained. There is an advantage to doing this before investing more time in the rest of the work. It exposes assumptions that can otherwise survive until the final stage, where they are more expensive or awkward to correct. Allow enough time to examine the result in the same circumstances where it will actually be used. Avoid choosing wood solely because a sample looks attractive. Keep the first version nearby so that a later change can be judged against it rather than against an imperfect memory.
Inspect the grain
Straight grain can simplify some kinds of shaping, while irregular grain may offer visual interest at the cost of more complicated behaviour. Different areas of one piece may not be alike.
Do the small preliminary exercise before getting absorbed in the larger task. Look at several faces and check for changes around knots and figure. Think about what might make it fail outside this particular example, such as a change in the available time, the material or the person doing the work. Select a piece that suits the planned technique and your experience. Where the method is promising but the result remains inconsistent, simplify the arrangement or examine the source of the discrepancy. A method you understand well is generally easier to adapt than one that happens to work once.
Understand moisture and movement
Wood changes dimension with moisture, often unevenly across different grain directions. A piece chosen without considering its condition may change after assembly or finishing.
There is little benefit in spending a long time perfecting an example that cannot be used later. Determine whether the material is suitably dried for the intended project. Think about the practical circumstances in which the result needs to work, and allow for their normal variation. Ask the supplier or a knowledgeable instructor about uncertain material. A second attempt can be especially useful when the outcome was unexpectedly good or bad. It provides a chance to check whether the explanation fits the result. Do not be afraid to leave a less important detail alone when it is already satisfactory.
For a related part of the process, see Getting Started with Green Woodworking.
Check defects thoughtfully
Checks, splits, decay and loose knots can affect a piece's suitability. A defect that is decorative in one non-structural object may be unacceptable in another.
At this point, a representative example is more helpful than a vague impression about the work. Inspect both ends, edges and broad faces before laying out the work. Save any useful record of the exercise, including the original version where appropriate. Compare the results in their ordinary context instead of viewing each in isolation. Reject pieces whose defects would compromise the intended use or safe handling. If a small alteration causes a new problem nearby, consider reversing it and trying a more restrained approach. A careful comparison can be completed quickly once the question has been narrowed to something specific.
Allow reasonable working dimensions
A rough piece needs enough usable material for the planned object and the operations that create it. The exact margin depends on the method and the condition of the blank.
It is easy to become preoccupied with one detail while losing the original reason for addressing it. Sketch the proposed parts onto a measured drawing of the available material. Remember to consider how the choice affects the finished material rather than merely the intermediate result. Check whether defects or irregular edges reduce the realistic usable area. Where two approaches appear equally suitable, think about the effort needed to maintain each of them. There may be an advantage to the simpler one if it leaves more room to deal with unpredictable problems. Preserve the comparison so you can revisit it if circumstances change.
Match the material to the tools
An attractive wood may be tiring or challenging with unfamiliar equipment. Working characteristics matter to the quality of the result and safe control.
Choose a material with characteristics appropriate to the tools and instruction available. Check whether any detail depends on an arrangement that will change later. It is common to discover that a useful intermediate result becomes inaccurate when the surrounding material is rearranged or another requirement changes. Inspect a small sample before committing to an entire project. Make a final comparison after those dependencies are stable. In the meantime, leave a clear indication of what still needs to be confirmed. This is more useful than treating provisional work as finished and forgetting which assumptions require another check.
For a related part of the process, see Planning a DIY Podcast Episode Around a Project.
Consider sourcing and storage
A small project rarely needs excessive inventory. Well-stored pieces with known origin and condition are easier to select later than a miscellaneous pile.
Label leftover usable pieces and keep them in conditions suitable for the material. Consider how this result will appear to someone who did not take part in producing it. They will not have the same knowledge of discarded attempts, temporary adjustments and other circumstances. Avoid salvaged material with unknown treatment or possible embedded metal unless properly assessed. A brief independent check can reveal a problem that has become familiar enough for you to overlook. If the check suggests a substantial change, preserve the version you already have and make the correction deliberately. Avoid creating unrelated revisions while trying to resolve one recognizable difficulty.
Make a small sample first
Surface appearance, finish and the working feel may differ from what you expect. A sample reveals concerns without risking a nearly finished piece.
Before moving on, establish whether the method can be repeated without reconstructing every decision. Use an offcut from the same material for relevant supervised tests. Make the remaining checks using the actual output rather than relying entirely on the appearance of the working version. Compare the sample against the desired appearance and practical requirements. If the work needs a further change, keep the reference that shows why. Otherwise, write down the useful choices and put them into practice during the next comparable task. This turns the effort of the first experiment into material that continues to be useful.
Putting the method into practice
Keep a small sample when it is practical and useful. Record the known material condition alongside the finished result so future decisions are based on observations rather than appearance alone.