A finished photograph may capture the most attractive side of a wooden object without recording the decisions that made the project possible. Measurements, changes and unexpected material behaviour often become harder to remember after the work is complete. A modest project journal can preserve such observations without turning a hobby into an administrative exercise.
Write down the purpose
A project journal is easiest to use when it explains what the maker intended to achieve. The same photograph can represent several different goals.
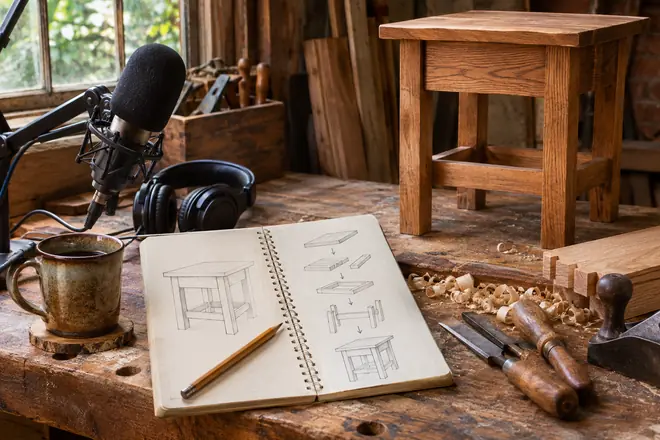
Begin with something you can observe directly. Begin with a small sketch, overall dimensions and intended use. Keep the first attempt deliberately basic; otherwise it becomes difficult to separate a useful change from the effects of everything else that has changed at the same time. Make a short note of the starting conditions and retain it for the next attempt. Keep the initial description even if the finished project changes. If this is not apparent, reconsider the starting point instead of adding complexity. A workable baseline is often more informative than an elaborate arrangement made before the practical problem is understood.
Describe the material accurately
A note about wood type, grain and condition helps explain why a later piece behaves differently. General descriptions may be insufficient months after construction.
Approach this stage as a series of small decisions rather than a single correction. Record what is known about the material and distinguish it from guesses. When working with more than one variable, change just the one most closely related to the issue you have noticed. A different position, arrangement or passage may introduce an unrelated effect that confuses the comparison. Add a photograph of the relevant grain or defect if helpful. Make a note of the details that had the clearest influence. This makes it possible to recreate a worthwhile change later without repeating all of the initial experimentation.
Capture dimensions and references
Measurements become difficult to remember once a piece is finished. Recording important reference points supports later repairs or variations.
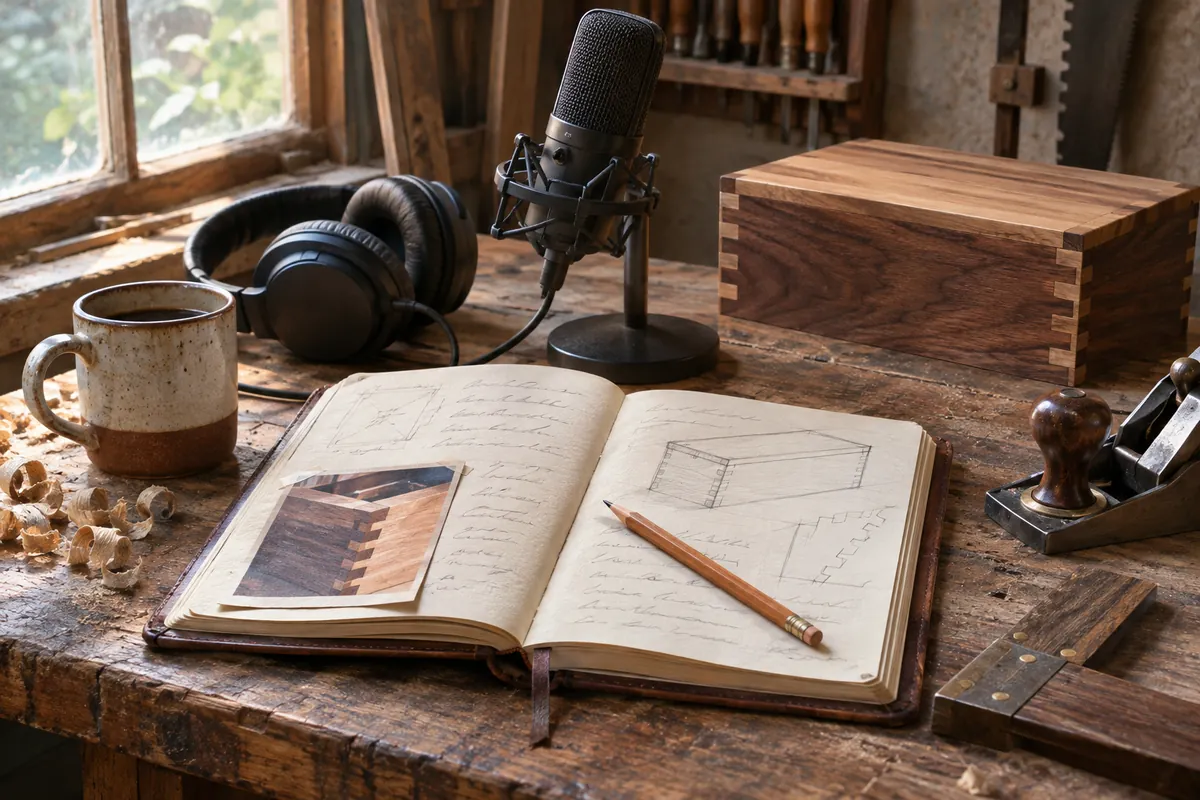
Annotate the working drawing when a value is checked or deliberately changed. Consider what would make someone else interpret this result differently. Is something obvious to you only because you know what happened just before, or because you have spent time with the original material? Look briefly at the problem from the perspective of someone encountering it for the first time. Distinguish approximate planning dimensions from the actual measurements. Add clarification if necessary, but avoid inventing a complication where none exists. The most helpful change is the one that addresses a specific difficulty without adding another.
There is a closer look at a related question in Planning the Order of a Woodworking Project.
Note changes to the plan
A small alteration may be made during work without appearing in the initial sketch. The reason for that change can be more useful than the numerical detail alone.
Give yourself a little room to adjust without losing sight of the purpose of the exercise. Write down the decision and the observation behind it. An arrangement that is almost right may need a small practical change rather than a full redesign. Avoid rewriting the original plan as though the change was always intended. If possible, compare the result at a later stage, when you can assess it in relation to the other work. Keep the parts that already perform well. Repeated changes to a satisfactory detail consume time and may introduce problems that were not present originally.
Take useful photographs
A photograph of the finished piece records appearance but may conceal important features. Intermediate images can show an arrangement, layout or surface detail.
Before extending this change to everything else, see how it behaves in a small controlled example. Photograph stationary work from useful angles in suitable light when it is safe to do so. When possible, choose material that contains both ordinary features and the difficulty you are trying to address. This gives a more balanced impression of the result than selecting only the worst portion. Keep images in the journal with short descriptive labels. A correction that improves one area but makes the normal material harder to use should be reconsidered. Adjust the scope instead of applying a broad solution merely for consistency.
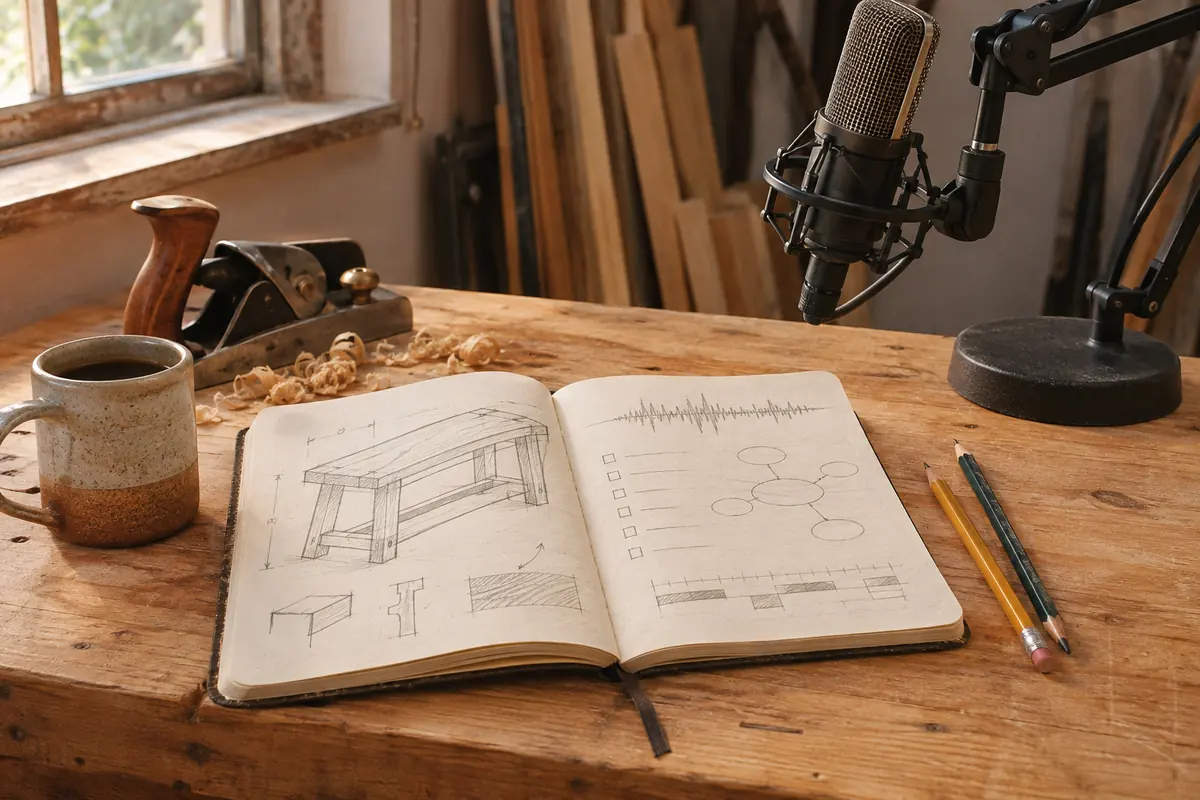
Record problems without embellishment
An imperfect fit or unexpected surface mark can reveal something worth learning. A journal does not need to become a promotional account of the project.
Describe what happened, the suspected cause and any correction made. A recurring difficulty at this stage can be a sign that an earlier part of the process was not arranged conveniently. Instead of repeatedly compensating for the same fault, look back at what led to it. Identify unanswered questions rather than inventing a confident explanation. A small adjustment near the source may remove the need for an expensive correction every time. Preserve the current material until the revised approach has been tested. If the new version is worse, return to the earlier one and retain what you learned from the example.
For more on a nearby subject, read Describing Visual Craft Processes in Audio.
Include relevant conditions
Material behaviour and surface treatment may depend on factors such as moisture, storage and environmental conditions. Record information that could explain meaningful differences later.
Note relevant conditions and product instructions without unnecessary detail. Now compare the proposed solution with the actual needs of the finished work. A technically interesting alteration is not necessarily an editorial or practical improvement. Separate observed results from assumptions about why they occurred. Evaluate the complete result, including the portions that were not changed, to make sure the choice did not create an unexpected difference elsewhere. If everything behaves as intended, stop adjusting it. The ability to decide that something is finished is an important part of a dependable independent workflow.
Review before beginning another project
Notes are useful only if they can be found and understood. A brief review identifies methods that worked and questions that remain open.
End by checking the deliverable against its intended use. Read the entries for a similar project before planning the next one. Allow for the fact that a small difference may be unimportant in one context and consequential in another. Carry forward a short list of improvements and verify whether they help. A final review should establish what is actually known about the result and identify anything that needs a separate investigation. Do not assume that a successful example proves the same approach works for every possible situation. The evidence from this particular piece of work is sufficient for a sensible next decision.
Before moving on
Open the journal before beginning a comparable project. Use its relevant observations, not an idealized account of the result, to identify what you want to do differently this time.