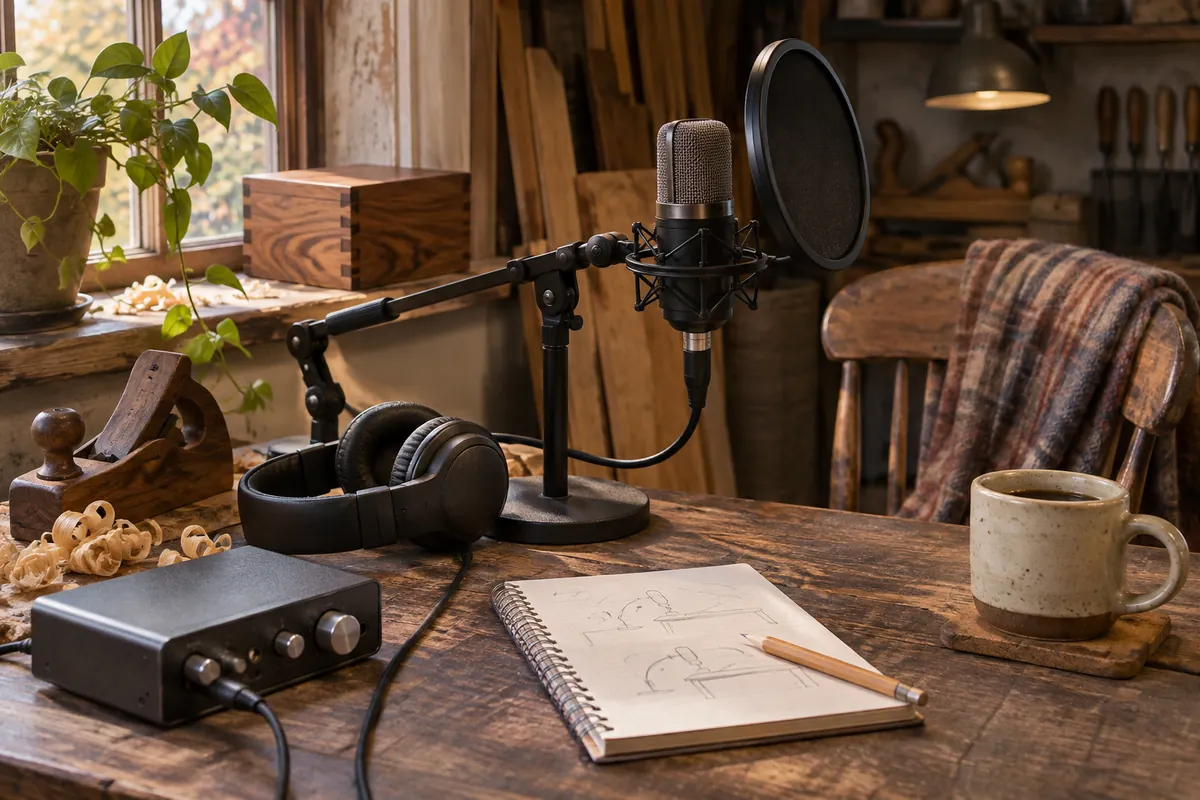
Two recordings made with the same microphone can sound remarkably different when the speaker moves closer or the microphone faces an untreated wall. The useful comparison is made by speaking into the actual room, not by inspecting equipment photographs. A modest home setup can produce comfortable spoken audio if its position gives the voice some independence from surrounding noise and reflections.
Begin with a comfortable position
A microphone works best when the speaker can remain relaxed and at a reasonably stable distance. The exact distance varies with its response and the room.
For a useful first comparison, use an ordinary situation rather than an unusually favourable one. Start around a handspan away and slightly off the direct line of breath. The result should be representative of the work you normally intend to do, not a demonstration designed only to make the method look successful. Write down anything you are obliged to change during the trial, especially when a different person or material is involved. Say several quiet and loud phrases without leaning forward. That observation gives you a starting measure for the remaining decisions, even if the initial attempt reveals a problem that needs another pass.
Check the direction of pickup
Microphones do not all collect sound equally from every direction. Determine where the intended speaking side is and what happens when the speaker moves off-axis.
Approach this stage as a series of small decisions rather than a single correction. Record the same sentence from close to several sides at equal distance. When working with more than one variable, change just the one most closely related to the issue you have noticed. A different position, arrangement or passage may introduce an unrelated effect that confuses the comparison. The most suitable orientation has intelligible speech and few distracting room sounds. Make a note of the details that had the clearest influence. This makes it possible to recreate a worthwhile change later without repeating all of the initial experimentation.
Reduce reflections before adding gain
A hard tabletop and nearby bare wall can produce short echoes that make voice sound hollow. Raising the input level increases both speech and unwanted reflections.
Move the microphone away from the wall or put a soft layer over the reflective surface. Notice what happens at the boundaries of this task, not only in the part receiving your immediate attention. A change that looks correct on its own can affect the portion that precedes or follows it. Check both relationships before taking the work further. Compare the tail of a spoken word in both versions. If you need to make a later correction, keep enough information to understand why the earlier choice was made. Clear records prevent confusion between a deliberate decision and an accidental difference that appeared halfway through.
For more on a nearby subject, read Portable Audio Recording for Field Interviews.
Control explosive consonants
Breath from words beginning with P or B may strike the capsule with enough force to create a low-frequency burst. A small change in angle can make a substantial difference.
Repeat a phrase with several percussive consonants while testing angle and distance. Try not to judge the success of the decision solely by how easy it is to carry out. Some seemingly convenient choices require substantial reworking later, while a little preparation may eliminate a recurring difficulty. Consider the next person or the next stage that will depend on this result. Check that the words remain natural without thumps. A useful way to decide is to imagine having to return to the work after several weeks. Leave enough context to make that return straightforward.
Keep the stand stable
A desk stand can collect taps, typing or movement through the furniture. A separate support or an isolated mount reduces this path.
Record light movements on the desk while the microphone is mounted normally. There are often several plausible ways to approach the same issue. The useful test is one that distinguishes their practical effects rather than comparing an ideal description of each method. Listen for transmitted sound beneath and between words. Keep the comparison honest by using similar starting conditions and avoiding a different standard for the favoured option. If the difference is too small to matter, consider keeping the simpler method for now. More demanding situations can provide additional evidence when they arise.
Allow for changes in posture
A speaker often shifts while reading notes or thinking. Small distance changes affect clarity and bass, particularly with directional microphones.
Try to separate the parts that require precise judgment from those that can reasonably vary. Place notes where reading does not require lowering or turning the head. This keeps attention available for the places where a small mistake has a significant consequence. Record a minute of unscripted speech and listen to consistency. If a detail does not affect the intended result but takes an unreasonable amount of time to refine, reconsider whether it deserves further attention. A reliable outcome does not require every intermediate choice to be identical. It does require a clear reason for the decisions that matter.
For a related part of the process, see Compression and Loudness for Clear Podcast Speech.
Set gain with the final position
Input gain is a level adjustment, not a solution to poor placement. Set it only after choosing a position the speaker can maintain.
Speak at the loudest level expected during the programme while watching the recorder. Now compare the proposed solution with the actual needs of the finished work. A technically interesting alteration is not necessarily an editorial or practical improvement. There should be headroom above the peaks without audible overload. Evaluate the complete result, including the portions that were not changed, to make sure the choice did not create an unexpected difference elsewhere. If everything behaves as intended, stop adjusting it. The ability to decide that something is finished is an important part of a dependable independent workflow.
Save a reference position
Make a simple note of distance, stand height, angle and room arrangement. It will help future recordings resemble the original without lengthy experimentation.
Photograph or describe the working layout before moving it. Review the result as a whole instead of concentrating only on the most recent adjustment. This is a useful moment to distinguish essential checks from personal preferences that have little effect on the finished material. Recreate the setup the next day and compare a short recording. If an issue remains, describe it precisely enough to guide a later attempt. Keeping a concise record of the unresolved problem can be more helpful than continuing to make small changes without a clear expectation of what will improve.
Check the finished result
Mark the position once you find it. A piece of removable tape on a stable desk, or a brief description of the stand height and angle, can save much of the work before the next recording.